Inventory Routes
Configuration > Inventory > Inventory Routes
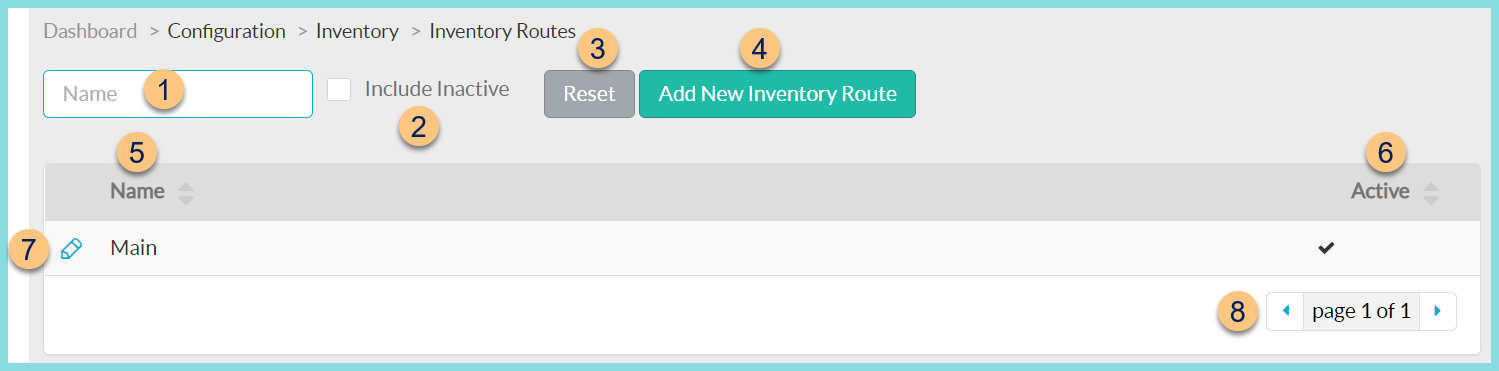
This page is used to create Inventory Routes that can be assigned to buildings for use in warehouse transfers. At least one inventory route must be created before buildings can be given the warehouse attribute.
-
Name - search by name
-
Include Inactive - check to include inactivated items in search
-
Reset - click to clear search
-
Add New Inventory Route - click to add a new route
-
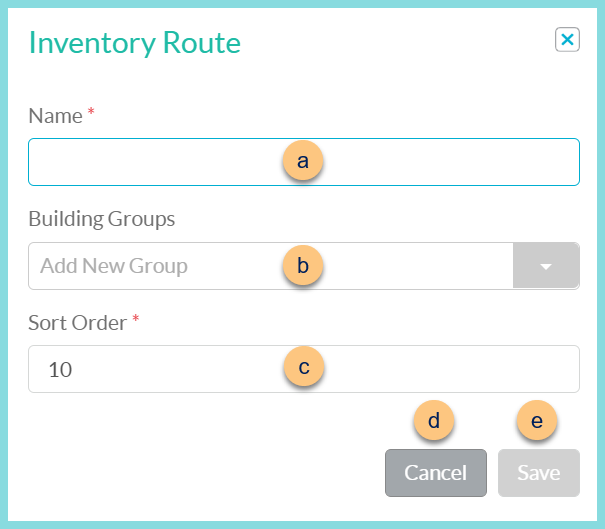
Name - enter a name
-
Building Groups (optional) - select a building group
-
Sort Order (optional) - change the sort order
-
Cancel - click to return to Inventory Routes page without saving changes
-
Save - click to save changes
-
-
Name - click to sort by route name
-
Active - click to sort by active status
-
Pencil - click to edit route
-
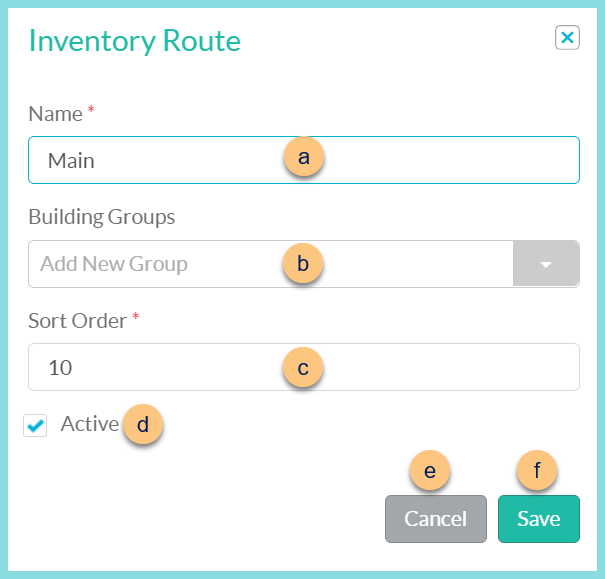
Name - enter a name
-
Building Groups (optional) - select a building group
-
Sort Order (optional) - change the sort order
-
Active - toggle active status
-
Cancel - click to return to Inventory Routes page without saving changes
-
Save - click to save changes
-
-
< > - click to scroll through pages
Common Inventory Route Structures
-
Day of the Week
-
Truck Number
-
Driver Name
-
School Name (some districts may choose to have one route per school regardless of actual routing practices)